Okay, so you buy these little cute adorable pre-made pockets in a packet of 4 for $1.99, or I'm sure you could make them too from a template. You then use double stick tape or glue and adhere it wherever you want in the book. I put one inside the cover and one right before the January divider and one on the blank page in the back. On the pages, it sticks out a tiny bit so don't put glue in the spot it hangs over. I just use the extra space as a divider and labeled it. i.e.. stickers, receipts, notes, etc. SO COOL!!! I love it. My planner still sits flat and looks fabulous.
The inside cover now hosts some great sheets of to-do lists, notes, lined paper and my cute book of sticky notes. It fits so snug and it is very sturdy. I just used the glue from my glue-pen from the SMASH line, $1.99 (Please ignore the half painted fingernail, it's life)
This is a great addition to my planner. I'm sad to lose my dry-erase board on the cover, but I figured I would use the pocket more than the board.
Here is another shot of my cute sticker pocket. It sticks out just enough to make it a nice natural divider so you can quickly go to that pocket in your planner and find your stuff. You can label it too.
So, Target is the bomb really. I love their dollar section. I found all of these adorable sticky note books and note pads. The larger ones are not sticky notes, they are just note pads.
These cute arrows are from the SMASH line and they are sticky and adorable. They just make things cuter. I love cute and functional mixed together.
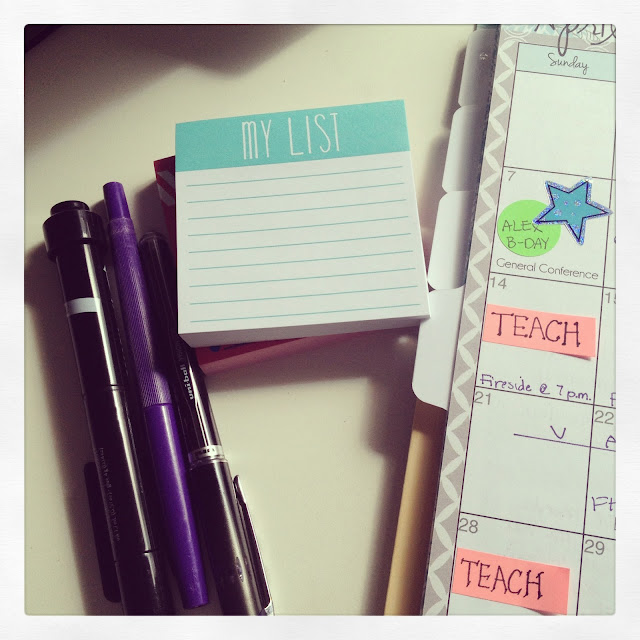
Supplies to use while planning. Office supplies, paper clips, sticky notes, cute markers and pens, Stickers, and chocolate. Can't go wrong.
See how fun it is to use stickers, boxes, and extra embellishments.
Love these. Use them wherever you want in the planner. You could even put it on the outside of the planner for priority items.
I love these Martha Stewart sticky notes from Staples. They are just the perfect size for lists of things you need to get done. If you don't finish, just remove it and carry it over to the next week.
I love these adorable paperclips that you can label and use however you want.
Again, use paperclips and notes in whatever way to help you keep it all together in one organized place.
So that's it. Just a few ideas of how you can get creative with your planner and really make it your own and something you'll want to keep as a keepsake of your time as a mother.


LOVE THIS!
ReplyDeleteWhat a great post!! So much creativity! :-)
ReplyDeleteThank you so much for sharing.
Just pined it.
Adi Maor Siso
www.adimaorsiso.com
I love all these post it type notes. I am so excited for mine I can't stand myself. Thank you for your creativity and your ability to see things and then put them on paper.
ReplyDeleteWhat kind of pens are you using for your planner entries? I love the bright, vibrant colours!!
ReplyDeleteI was wondering the same thing!
DeleteI just got to this amazing site not long ago. I was actually captured with the piece of resources you have got here. Big thumbs up for making such wonderful blog page! ผ้าม่านโครงการ
ReplyDelete